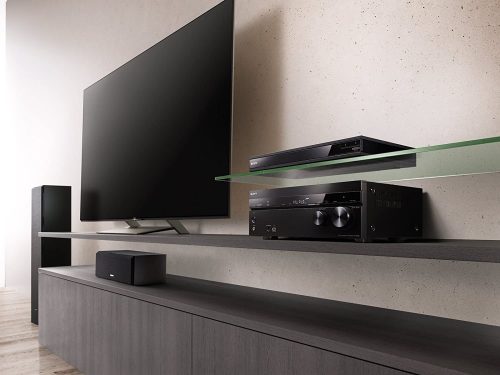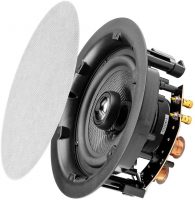
No one would want uneven and unbalanced sounds all over your room. That’s why it is paramount for your ceiling speakers to be linked to a receiver. If you want stable and enhanced audio for your home, our team will show you how to connect ceiling speakers to receiver in this guide.
Materials and Tools You Will Need
The first order of business involves preparing all the materials required for the setup process. Here are the following tools you will need by your side.
- Ladder
- Drywall saw
- Stud finder
- Floor covering
- Measuring tape
- Cut-out template
- Blue painter’s tape
- Pencil
- Screwdriver
- Wire stripper
How to Connect Ceiling Speakers to Receiver
Look for a Spot
The next thing you need to do is pick your prefered location. However, if you want to make the most out of your in-ceiling speakers, you can’t just place them anywhere you want.
They need to be put somewhere near the room’s center to get equal audio. They also need to be by your left and right side so that they are correctly aligned. Our team also advises you to keep them away from the furniture to avoid blocking the soundwaves coming from the in-ceiling speakers.

Mark Locations with Blue Tape
After planning your speakers’ placements, use the stud finder to locate the ceiling joists. You may need to climb the ladder to move an inch closer to the ceiling.
Once you have done that, apply blue tape to apply symmetrical alignment between the ceiling joist and speakers.
Usually, the golden rule is to maintain an 8 feet distance between the two speakers. However, this may be a case-to-case basis because not all houses have the exact room dimensions.
Draw the Hole Using Your Pencil and Cut-Out Template
Most in-ceiling speakers come with a cutout template that has the same size of the required opening size. However, if your speaker does not come with cutout templates, you can make your own using cardboard. Put the template on top of the ceiling.
This will serve as your guide when drawing the opening with your pencil.
Create Your Speaker Holes
Ready your drywall saw to create the opening. Expect to form a lot of dust, so we recommend wearing a facemask if you are highly allergic [1]. Also, you may want to prepare a broomstick and dustpan to avoid the build-up of dust on the floor.
Run Back Your Wires
Even though your speakers will be placed at the topmost part of your home, you still have to do some work with your wires. To ensure a booming surround sound experience, run back your wires to your amplifier or AV receiver.

Make Proper Connections
Connect the conductors to your speakers before putting them on the ceiling. Conductors are usually found on your speaker cable.
Make sure you’re not applying too much copper on your speaker’s terminals. Doing so might result in an electrical shortage and damage to your amplifier.
Install Speakers
Add the Finishing Touches
Insert the magnetic grills over your speakers for a more presentable display. If there are dust particles or fingerprints, be sure to clean these to avoid any markings.
You need to ensure that your speakers are spotless before descending from the ladder.
Should You Go for Ceiling Speakers?
The process is tedious, but the results are rewarding. In-ceiling speakers save you a lot of space while giving you the same high-quality audio loudspeakers provide. You won’t have to worry about your soundbar or bulky speakers from blocking your TV view.
To sum it all up, we highly encourage you to try out the unique but high performance in-ceiling speakers.
Conclusion
Our team hopes that this guide on how to connect ceiling speakers to receiver have helped you successfully with your setup. Following each step thoroughly will bring you one step closer to enjoying outstanding audio for your home theater needs.
The post How to Connect Ceiling Speakers to Receiver? — Your Guide For a Hassle-Free Setup appeared first on The Product Analyst.
from The Product Analyst https://theproductanalyst.com/how-to-connect-ceiling-speakers-to-receiver/

No comments:
Post a Comment