Are you tired of lagging and sudden disruptions while streaming? You won’t have to worry about any of these problems with the Sonos Boost. To find out how to set up this device in no time, proceed to read this guide.
Sonos Boost Setup
How Does it Work?
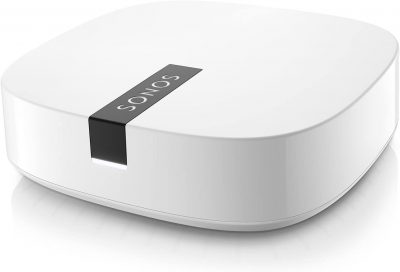
Simply put, the Sonos Boost connects with your Wi-Fi modem with the help of an ethernet cable. It enables you to set up a different network for your Sonos speakers.
You won’t have to worry about the Sonos Boost negatively affecting your Wi-Fi network. In fact, it makes your life easier by speeding it up.
The Sonos device acts as a secondary network, eliminating the strain and workload from your primary router.
When Do You Need to Use It?
If your household is not experiencing any connectivity issues, you should be good with your current Wi-Fi network.
However, if your Wi-Fi connectivity is affected by the load of your devices, Sonos Boost can alleviate this issue. The best time to invest in a Sonos Boost is when your home Wi-Fi network cannot provide equal connection for multiple devices and apps. Here are some examples:
- Amazon Fire TV
- PlayStation 5/Xbox Series X
- Netflix
- Spotify
- Android and iOS devices
Having many devices connected all at once will congest your Wi-Fi network, slowing down the entire connection.
As mentioned earlier, the Sonos Boost remedies your problems with the Wi-Fi by deloading the router from the many devices that are connected to it.
Sonos Boost Setup
Before doing any of the steps we are about to show you, you must download the Sonos App on either the Google Play or Apple App store.
The app will serve as a guide for both your router and Sonos Boost all throughout the duration of this procedure.
Choose a Location
First things first, you need to find the perfect location for your Sonos Boost.
Even though all homes are built differently, the one thing that remains constant is the fact that it has to be connected with the Wi-Fi router. Therefore, the location will depend on where you put your Wi-Fi. This can be in the dining room, living area, attic, you name it.
Connect All the Wires
The next step involves plugging it into a nearby electrical outlet. Keep in mind the power cord is about 6 feet or 1.8 meters.
Keep it away from tangling wires, LPG tanks, or items that generate heat. We want to protect you from potential fires or damage from taking place.
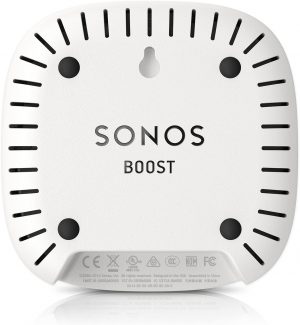
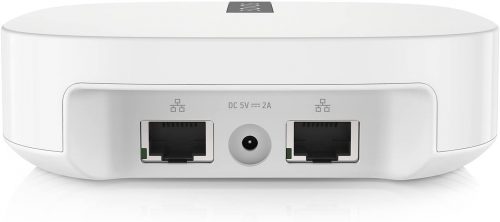
Besides connecting the power cable, you also need to link both the Sonos Boost and the Wi-Fi modem. All you have to do is connect both ends of the ethernet cable to each device.
Once you have finished picking your location and plugging all the wires, expect to see a flashing green light at the status indicator.
(If you are looking for the most compatible devices to connect with Boost, Sonos Move and Sonos Roam may be the ones for you)
Connect With the Sonos App
The last step has to do with setting up your Sonos network with the Sonos app.
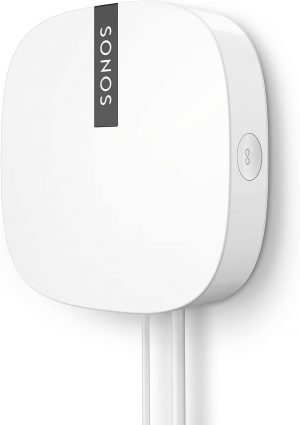
Press the “Join” button found at the front of your Sonos Boost device. The app will then verify whether you want to set up your Sonos Boost device. Tap on the “Yes, set up this device” button to carry on with the procedure.
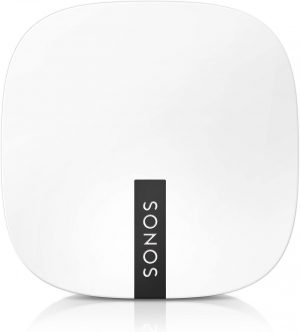
You may need to wait a little bit because the Sonos app will configure your Boost to the Sonos system. These need to appear on your app to ensure a successful setup process.
After a few more updates, you should be on your way to much faster internet and better audio for your music needs.
Conclusion
The Sonos Boost is your one-stop-shop for improving your Wi-Fi [1] connectivity at home while delivering high-qualiy audio for your other Sonos devices. Hopefully, through this setup process, you can enjoy the Sonos Boost has to offer.
Impressed about the Sonos brand? Why not try connecting your Sonos device to your television, too?
The post Sonos Boost Setup — The Perfect Add-On to Improve Your Wi-Fi and Audio appeared first on The Product Analyst.
from The Product Analyst https://theproductanalyst.com/sonos-boost-setup/
No comments:
Post a Comment